Top 5 Common Household Leaks and How to Fix Them Like a Pro
Household leaks can not only waste water but also lead to costly repairs if not addressed promptly. Here are the top 5 common household leaks you might encounter:
- Faucet Leaks: A dripping faucet can waste gallons of water daily. Most often, this is due to a worn-out washer. Start by shutting off the water supply, disassembling the faucet, and replacing the washer. For more details, check Family Handyman.
- Toilet Leaks: A running toilet can be both annoying and wasteful. Usually, it’s caused by a faulty flapper or fill valve. Flush the toilet, remove the tank lid, and inspect the components for wear and tear. You can find a step-by-step guide on This Old House.
3. Under-Sink Leaks: Plumbing joints under the sink can loosen over time, leading to leaks. Tighten any loose connections with a wrench and replace any damaged seals. For further instructions, refer to Home Depot.
4. Water Heater Leaks: A leaking water heater may indicate a serious issue, often requiring a professional. However, you can check for leaks at the drain valve or connections and tighten them if necessary. Read more at Better Homes & Gardens.
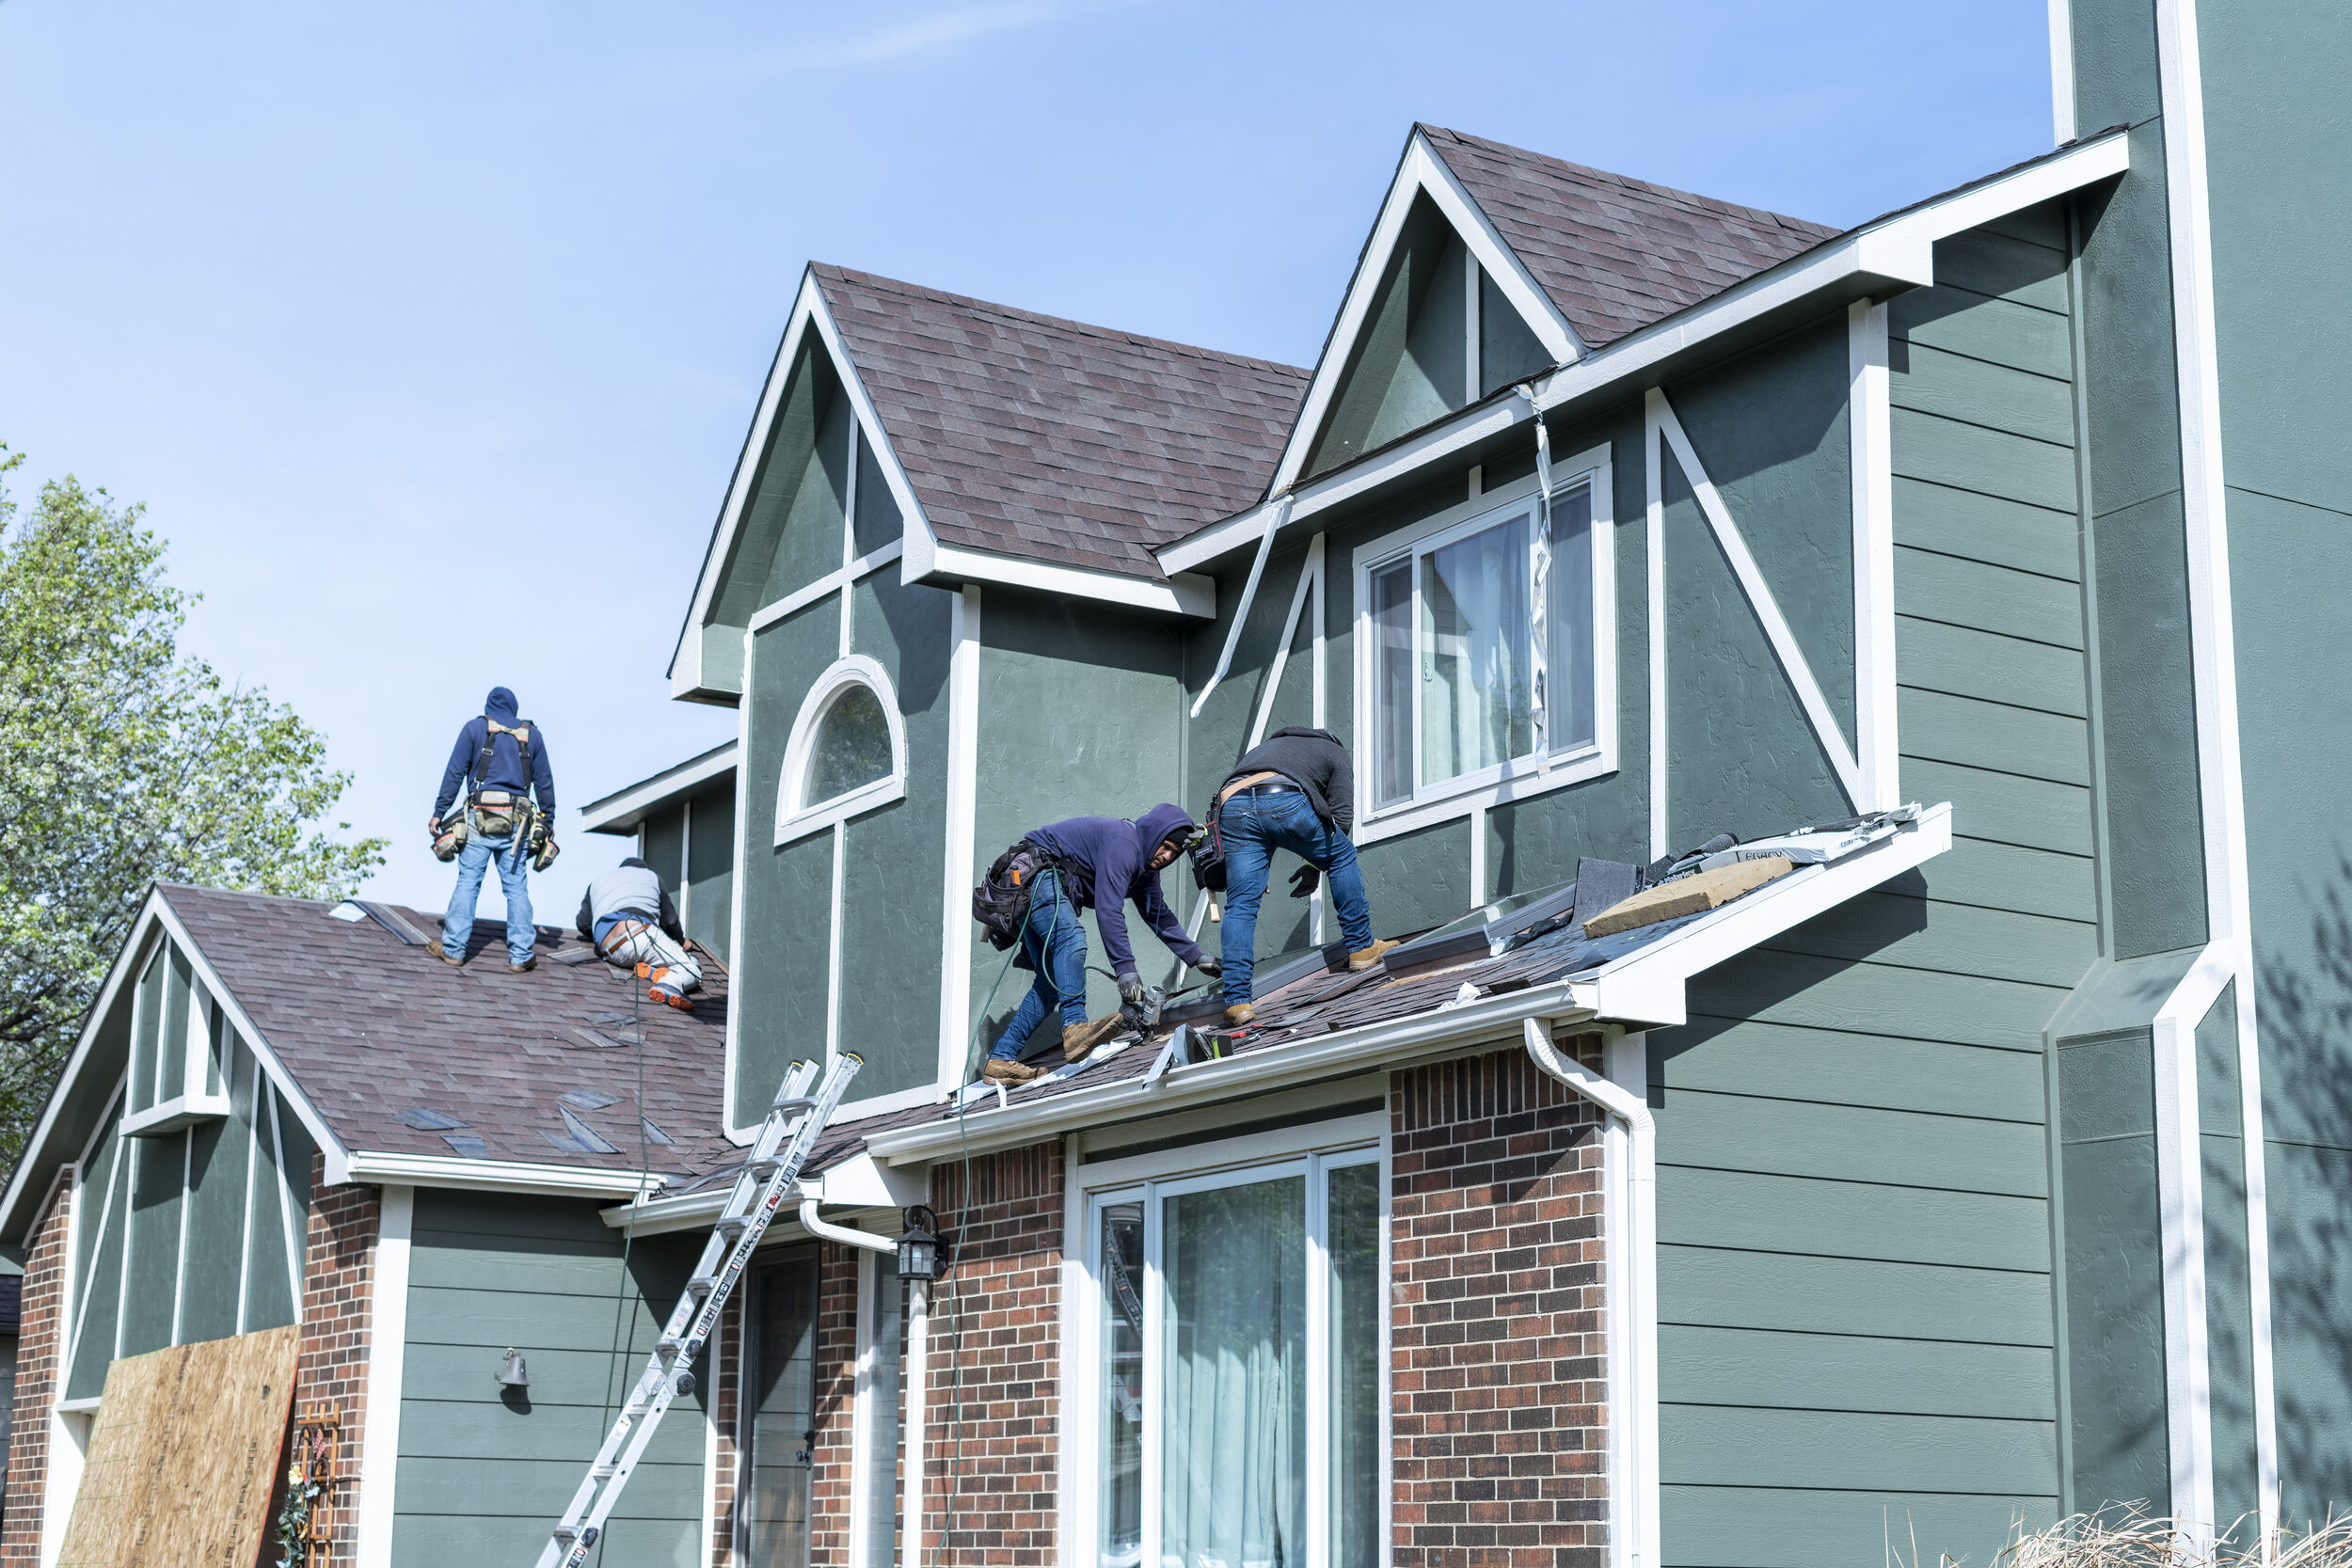
5. Roof Leaks: While harder to spot, roof leaks can cause significant damage. Look for wet spots in your ceiling or attic, and inspect your roof for damaged shingles. Seal small leaks with roofing cement or tape. For more guidance, visit Angie's List.
Step-by-Step Guide: Fixing Leaks Without Breaking a Sweat
Water leaks can be a homeowner's nightmare, but fixing leaks without breaking a sweat is achievable with the right steps. First, identify the source of the leak. Common culprits include faucets, pipes, and appliances. Once you've pinpointed the leak, take a moment to gather your tools: a wrench, plumber's tape, and a bucket. For a well-detailed guide on identifying leaks, visit HomeTips.
Next, follow these simple steps to repair the leak:
- Turn off the water supply to prevent further leakage.
- Use the wrench to tighten any loose fittings.
- If the leak persists, apply plumber's tape to the joint.
- For faucet leaks, replace worn-out washers or cartridges.
- Finally, turn the water supply back on and check for any remaining leaks.
What Tools Do You Really Need for DIY Leak Repairs?
When it comes to DIY leak repairs, having the right tools on hand can make all the difference. Essential tools to consider include a pipe wrench for tightening and loosening plumbing fixtures, and a plumber's tape to ensure a watertight seal. A durable bucket is also important for catching any leaks while you work. For more intricate jobs, a pipe cutter may be required to remove damaged sections of piping.
Once you have your tools ready, don’t forget about safety. A good set of safety gloves can prevent injuries while working with sharp tools, and protective eyewear is a must for any project involving splashes. To effectively assess the source of the leak, a flashlight or even a headlamp will help illuminate dark spaces and ensure a thorough inspection. By equipping yourself with these essential tools, you can confidently tackle your DIY leak repairs and save both time and money.